

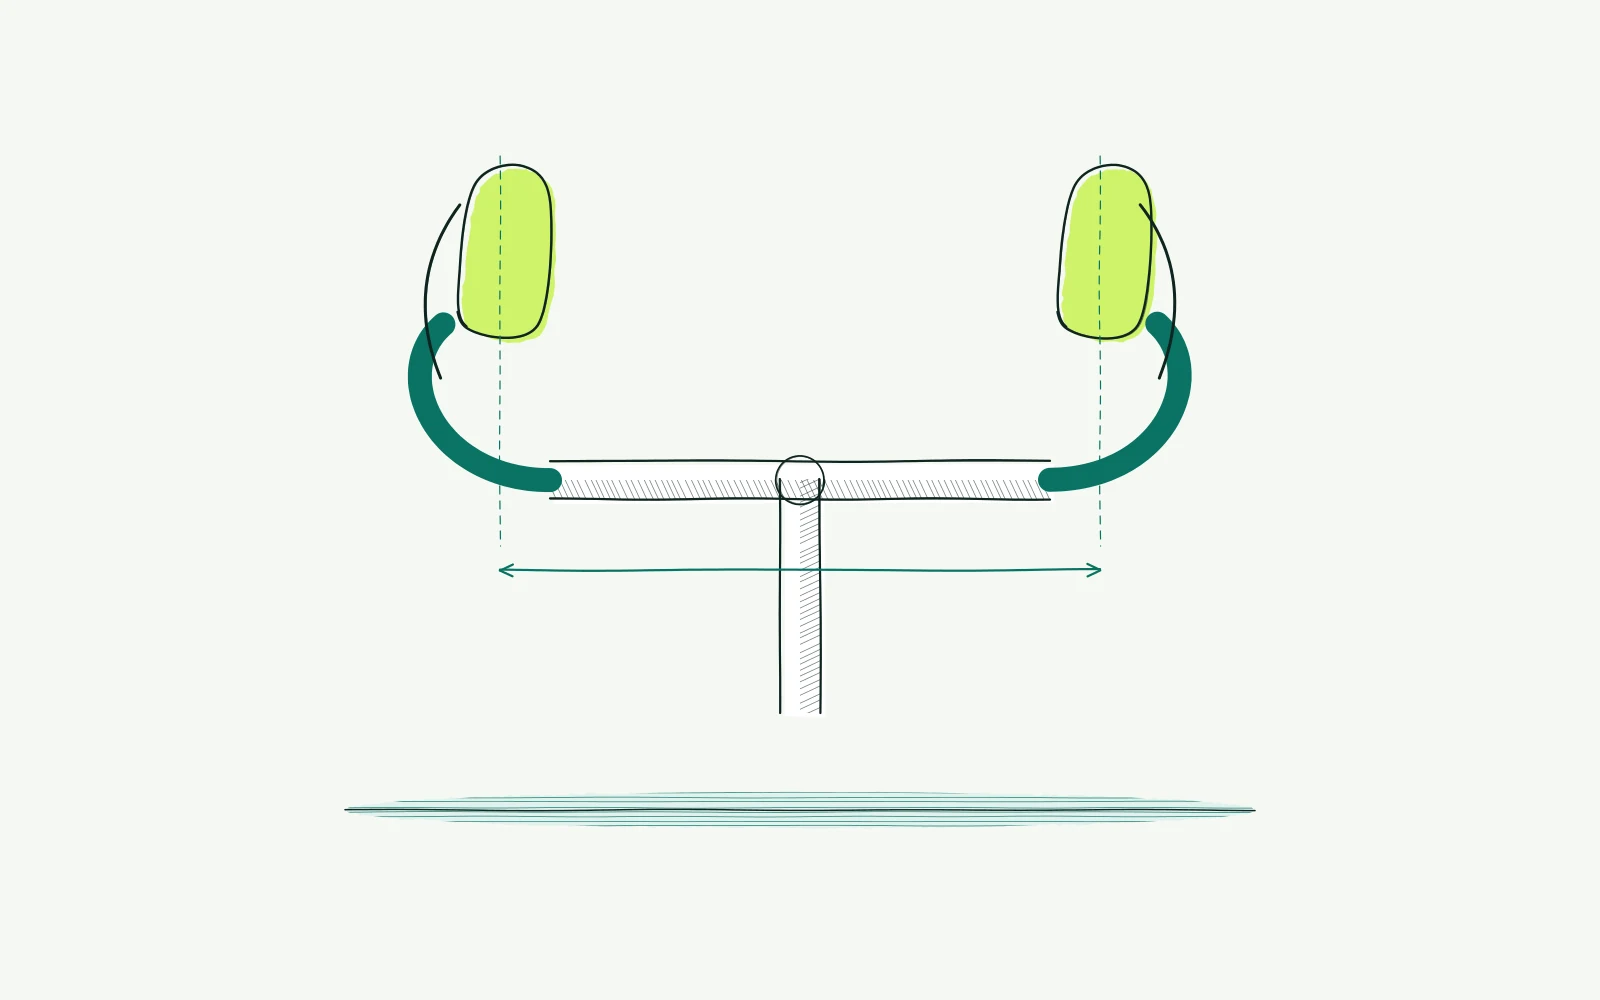
The problem: handlebar width
Your hands sit further apart than feels comfortable. Or your wrists bend awkwardly when you hold the brake hoods. Perhaps the bar tops feel fine, but the drops seem difficult to reach while braking.
A different handlebar width may look like the obvious solution. Yet the number printed on the bar does not describe every hand position. A bar may be wider at the bottom than at the hoods. The hoods themselves also occupy space and change the supporting surface.
You may only notice the difference after a longer ride. Your shoulders rise, your arms feel tense or you keep looking for another position. Record where that happens and whether braking still feels easy.
This guide helps separate width, hood position and reach. It does not choose an exact bar size from one body measurement. Start with your existing handlebar and observe without loosening parts. Pain or numbness is not a reason to keep riding for a more complete test.
Background: width is more than the number on the bar
A handlebar has several dimensions. Width describes the distance between two reference points, but manufacturers may use different points. Check where the manufacturer measures. Do not compare an outside measurement with a centre-to-centre measurement as if they were identical.
Brake hood position changes where your hands rest. On a bar with flared drops, the lower hand positions sit further apart. A single width number therefore cannot describe the space you experience on the hoods. Measure both positions if you feel a clear difference between holding the hoods and the drops.
Reach and drop matter as well. The curve of the bar can place your hands further forward or lower. A narrower bar therefore does not automatically solve excessive reach. Your support on the saddle also affects how much you lean on your hands.
Distinguish the position of the whole hood from the reach to the brake lever. Some models allow the lever distance to be adjusted separately. The Shimano user manual for operation and adjustment directs users to a dealer for adjustments not described there. Always use information for your own model, rather than copying an unfamiliar screw adjustment from a video.
Shoulder width can support a discussion about sizes, but it is not an automatic ordering specification. A photograph also cannot show your confidence while braking or steering. An online bike fit can organise your starting information, but cannot independently choose a safe, comfortable handlebar shape.
How to approach it with bike fitting
-
Record your current handlebar: Note the brand, model and stated width. Check the product specification to see where that dimension is measured. Use a tape to measure between matching points at both brake hoods.
Repeat this at the drops and record both distances in millimetres. Take photographs from the front and side.
-
Check your hands without adjusting anything: Stabilise the bicycle with help from another person. Hold the hoods and then the drops as you would while riding. Observe your wrists, shoulders and access to the brake levers.
You must be able to reach the controls without an insecure grip. Compare left and right, but do not force artificial symmetry.
-
Separate width from distance: Record whether your hands feel too far apart or too far forward. Those are different questions. Use the bike fit calculator to organise your body measurements and position, not to prescribe handlebar width. Discuss with a fitter whether bar shape, hood position, lever reach or overall reach deserves attention first.
-
Choose one safe comparison: No universal number of millimetres or degrees improves every brake hood position. Record an agreed change against your photographs and measurements. Use only adjustments permitted by the component instructions.
After installation, check security and brake operation. Have a mechanic do the work if you are unsure which bolt or adjuster is involved. A different handlebar width may also affect cables and hoses; have these checked in advance.
-
Compare the result calmly: Begin in a safe place with steering and braking checks before planning a normal ride. Then compare two to three easy rides, only while you remain symptom-free. Keep gloves, route and effort as consistent as possible.
Assess both the hoods and the drops. Restore the safely recorded original position and seek advice if the result is worse.
-
Take warning signs seriously: Stop for pain, tingling, numbness or uncertain access to the brakes. Seek medical assessment for persistent changes in sensation, weakness, swelling, pain at rest or at night, and radiating symptoms. Have recurring tingling assessed too, as recommended by the NHS advice on pins and needles.
If symptoms remain after three to four careful adjustments, involve a fitter and a clinician where appropriate. Do not wait through that sequence with sensory loss or braking problems; safety matters more than completing a comparison.
Further reading
- Bike fit for a short torso helps distinguish forward reach from the distance between your hands.
- Bike frame size explains why a suitable handlebar position also requires room for adjustment on the bicycle.
- Bike fit for beginners offers a calm sequence of checks before you replace components.
- Cycling power and pacing helps you keep riding effort consistent during comparison rides.
- The bike fit calculator organises body measurements and your preferred position, but does not prescribe an exact handlebar width.
Frequently asked questions
Does a narrower handlebar make me faster?
Do not choose a bar solely on a general speed claim. You still need safe braking, steering and access to different hand positions. This guide does not calculate aerodynamic gains. Compare comfort and control first; a position you cannot hold comfortably is not an automatic improvement for your own rides.
Should my brake hoods point straight forward?
There is no universal angle for every bar, hood and rider. Components must still remain within their installation instructions. Have hand position and access to the controls assessed together. Do not turn the hoods far inward simply because another rider does; their equipment and circumstances may differ from yours.
Can I move the brake lever closer to my fingers?
Some models offer separate reach adjustment. Check the instructions for your exact model or ask a mechanic. Rotating the entire hood is not the same as changing lever reach. After any permitted adjustment, check that you can maintain a secure grip and that the brakes operate normally and safely.
Which details help when choosing another handlebar?
Keep the brand, model, width measurement method, distances at the hoods and drops, and photographs from both angles. Record which hand position feels comfortable and where using the controls is difficult. Bring your usual gloves to an assessment. That lets you compare actual contact points rather than product names alone.
This guide covers one part of your riding position. Read how bike fitting connects your measurements and bike setup.
Organise your measurements and riding position before comparing a different handlebar setup with a fitter.
Calculate your bike fit