

In the middle of the lower back after a longer ride, especially on the hoods or in the drops
Pain point
Lower back pain cycling: when and where do you feel it?
Lower back pain while cycling can come from a position your mobility and core support cannot hold for long enough. Note when and where you feel it, then check saddle support, reach and bar drop in that order.
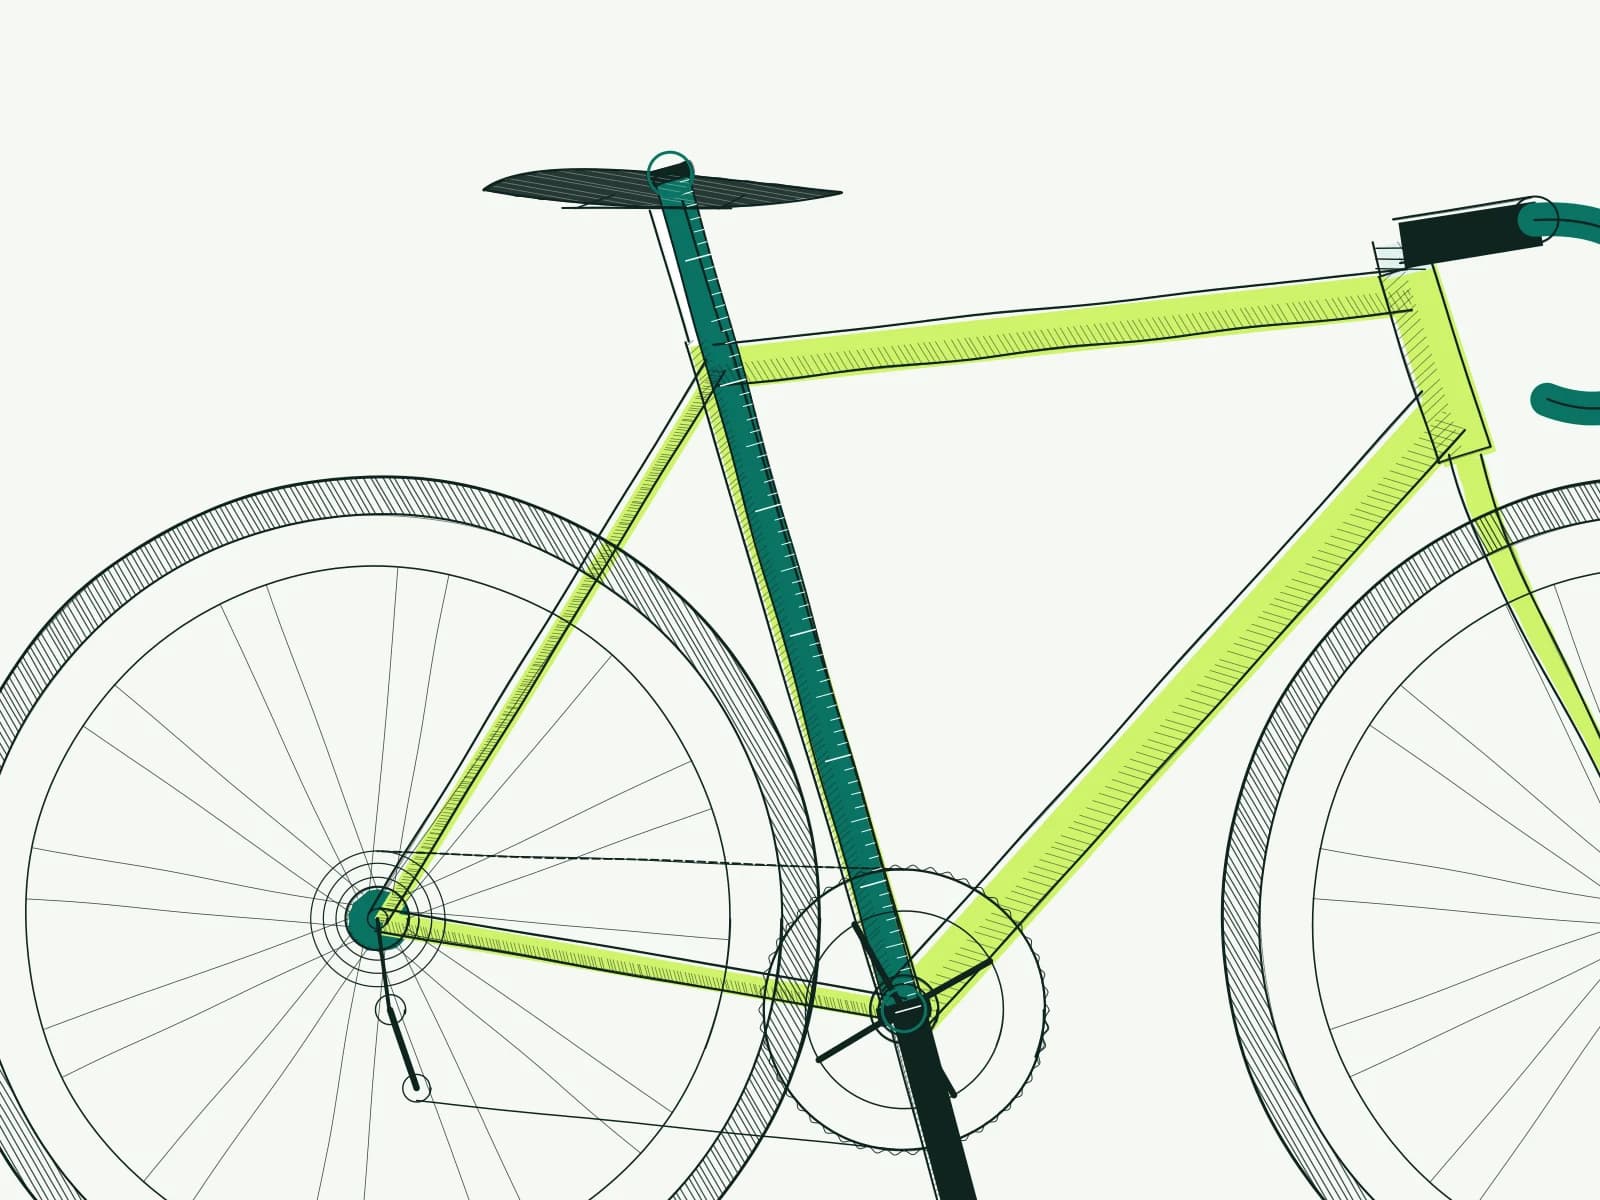
Recognise your lower back pain cycling pattern
Does this feel familiar?
Recognise your lower back pain cycling pattern
More on one side of the lower back, sometimes with sliding or sitting crooked on the saddle
When climbing or riding hard in a low position
Back pain after cycling that fades quickly once you get off, or that stays
Relief as soon as you sit up or change hand position often
Where and when does your back hurt?
Where is it?
Where and when does your back hurt?
Location and timing point to a direction, not a diagnosis. Start with the first check and change one thing at a time.
| Where or when | Possible link with your setup | First check |
|---|---|---|
| Middle of the lower back, on the hoods or in the drops | Bars that may be too far or too low for your mobility, so you have to reach or bend a lot. | Measure reach to the hoods and the saddle-to-bar drop, and compare them with the bike fit calculator. |
| One side, or sitting crooked | An unstable seat: saddle too high, sliding on the saddle, or a difference between left and right. | Check saddle height and whether you stay in the same place on the saddle. |
| You keep sliding forward | Saddle position or tilt gives little support, or the reach is too long. | Record your saddle position and tilt before you change anything at the front. |
| Only after long or hard rides | Riding load: duration, intensity, or holding the same hand position for a long time. | Compare with a shorter, easy ride and change hand position regularly. |
The order of checks for lower back pain
What to check first
Adjust with purpose. Not all at once.
Work in small steps and test on the same ride.
The order of checks for lower back pain
- 01
Record your starting position: saddle height, saddle position, saddle-to-bar drop and reach to the hoods, with a tape measure, spirit level and side photo.
- 02
Check your seat first: do you stay in one place without sliding forward? If saddle height is clearly off, compare a step of 2–3 mm.
- 03
If the bars seem too low, compare a rise of 2–5 mm within the limits of your frame, fork and stem.
- 04
If the bars mainly feel too far, discuss a shorter stem with a fitter. Do not move the saddle forward to shorten reach.
- 05
Test each change for two to three easy rides and change nothing else. Stop with new or increasing pain.
FAQ
Does lower-back pain always mean the bars are too low?
No. Reach, pelvic support, and how you brace the torso can matter just as much. Two riders can experience the same measurements very differently, so a number on its own is not a diagnosis.
Should I raise the bars immediately?
Only after checking saddle support and reach, otherwise you can hide the root cause instead of solving it. If height then seems to be the issue, a rise of 2–5 mm is a cautious comparison where your system allows it.
Can I move my saddle forward to get closer to the bars?
That shortens reach, but it also changes your position over the pedals. You then change two things at once, which makes the effect of the bars harder to judge. Look at the front end first.
Is back pain after cycling a reason to stop testing?
Stop the trial with new or increasing pain and return to your recorded position. Feeling better while standing still is not a reason to ride through symptoms. Pain at rest or at night needs a doctor.
Related next steps
Related next steps
Turn the checks into your own setup.
Start with a free fit or send your situation in as a case-study candidate.